Chopping Board Blog
Within this blog I will list out the process I follow to create the lovely looking and super smooth stripey wooden chopping boards.
- Carefully select the types of wood to use, to contrast in colours
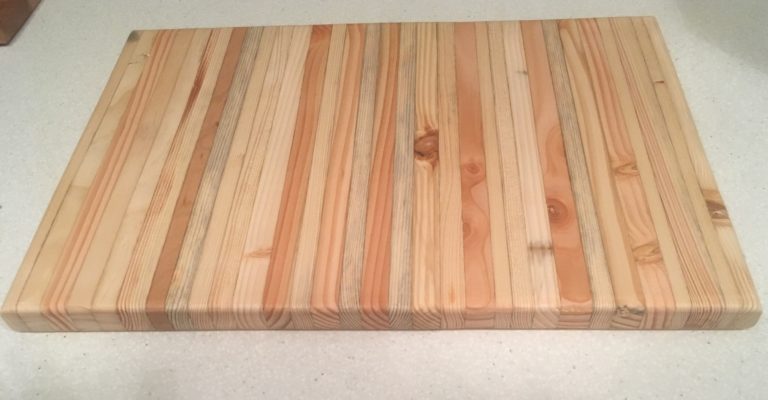
- Choose the size of chopping board your project will make (18″ x 12″ seen below)
- Cut all wood 1/2″ longer than the width of board you want to create
- Use an extra piece of wood at each end of the board to prevent damage from vice
- Cut all slats to the same depth, I use 34 mm as a depth for example
- Glue slats together whilst resting on 2 x long vice
- Glue boards together with an extra 1 inch in length to allow for compression
- Use a large heavy board to rest on top to stop warping
- Use 2 or 3 more grips from above to compress fully
- Tighten all grips again after 30 minutes to allow for glue seepage
- Leave for 2 days for the glue to fully harden
- Undo all grips and remove the protective slats
- Sand off excess glue
- Cut to final size required
- Sand top and bottom of board and all sides from 120 to 800 grit
- Moisten board with a damp cloth and sand again to 800 grit
- Repeat moistening and sanding up to 10 times to remove grain
- Finally soak the board in Mineral Oil to protect the wood
- Leave to dry and store flat
- Flip board twice weekly for a month to ensure no warping
That is the full process for the construction of a stripey wooden chopping board
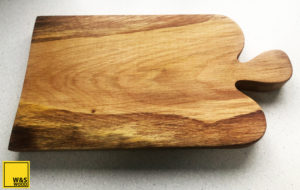
I will be creating several further examples this year using some very rare wood I have purchased. Purple Heart, Iroko and Paduak these are very distinctive colours, purple, deep brown and orange.
Below is an example of a stripey chopping board I created using the exact process detailed above.