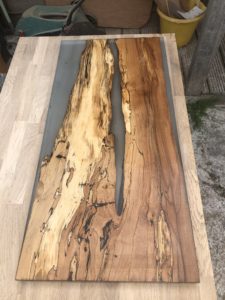
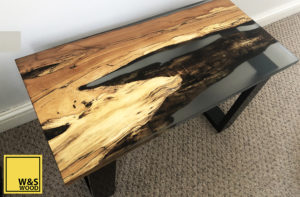
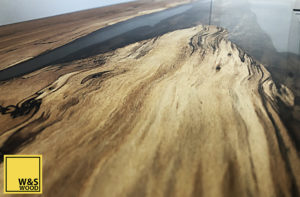
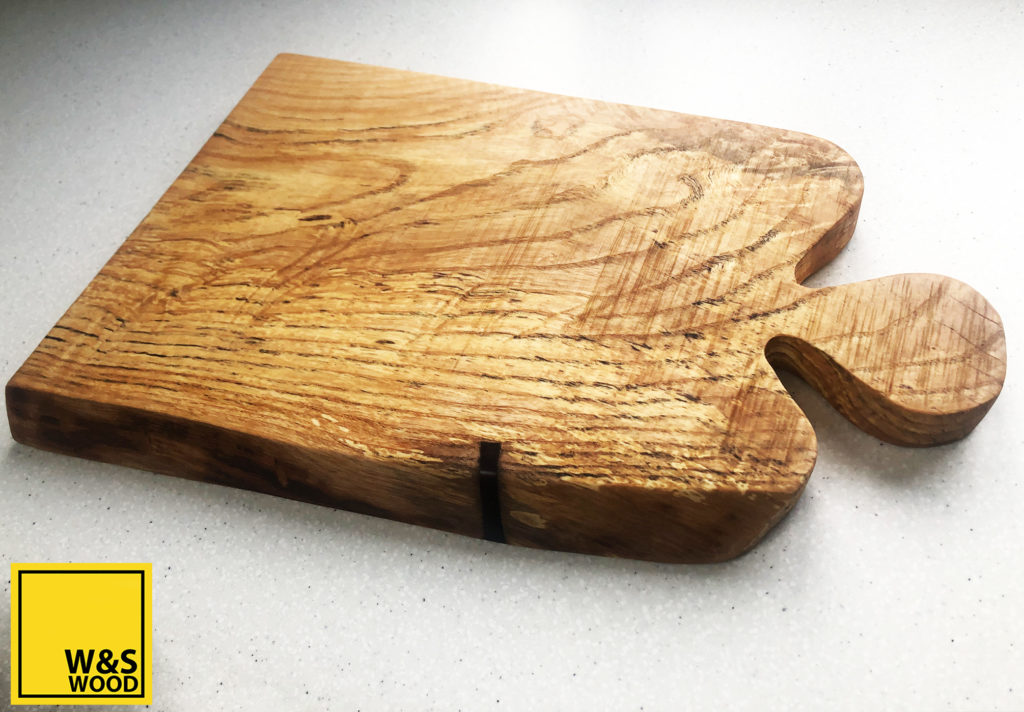
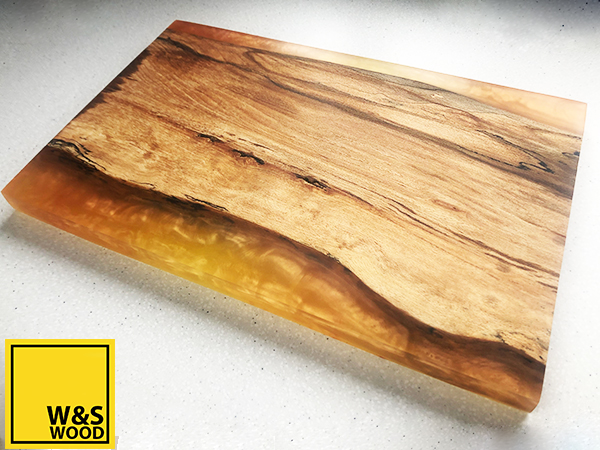
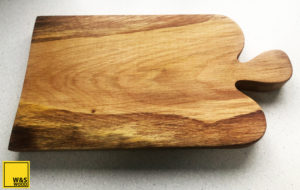
River Run Table Construction

Table Construction

Within this blog I will list out the process I follow for River Run Table Construction that produce the beautiful looking and super smooth river run tables.

  • Carefully select the type of wood to use
  • Confirm moisture content is circa 13% for best results 
  • Choose the size of the final table you require.
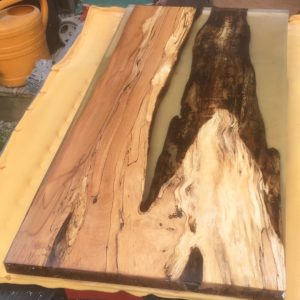
  • Create a “form” of the correct size for the resin pour. (see my 
  •  
  • blog on reusable resin pour boxes)
  • Sand the wood to 240 grit to ensure the bottom is flat and smooth
  • Place and clamp the wood into the box, to reduce movement and seepage
  • Seal live edge of the wood with resin and leave for 12 hrs to cure
River run table before clean up
  • Mix and pour the resin into the form an inch depth at a time
  • Use a blow torch or brule burner to remove air bubbles 
  • Once all the resin has been poured, again clear air bubbles.
  • Then leave for 3 days to fully cure
  • Remove table top from the box
  • Sand off to correct level
  • Cut to final size required
River run table prussian blue after clean up
River run table top after oiling
  • Sand the wood from 240 grit through to 800 grit
  • Sand resin from 240 grit through to 10k grit
  • Then use mineral oil to moisten the wood
  • Re sand the wood at 800 grit
  • Finally polish and buff the wood and resin to high shine
  • Measure, fix and attach table legs
  • Pictures below show the final result
River run table created in a reusable container for resin pours
river run table top close up

Get in Touch

07841 581007

waswoodco@gmail.com